


 Download(18.51MB)
 1.401
1.401
 4.45MB
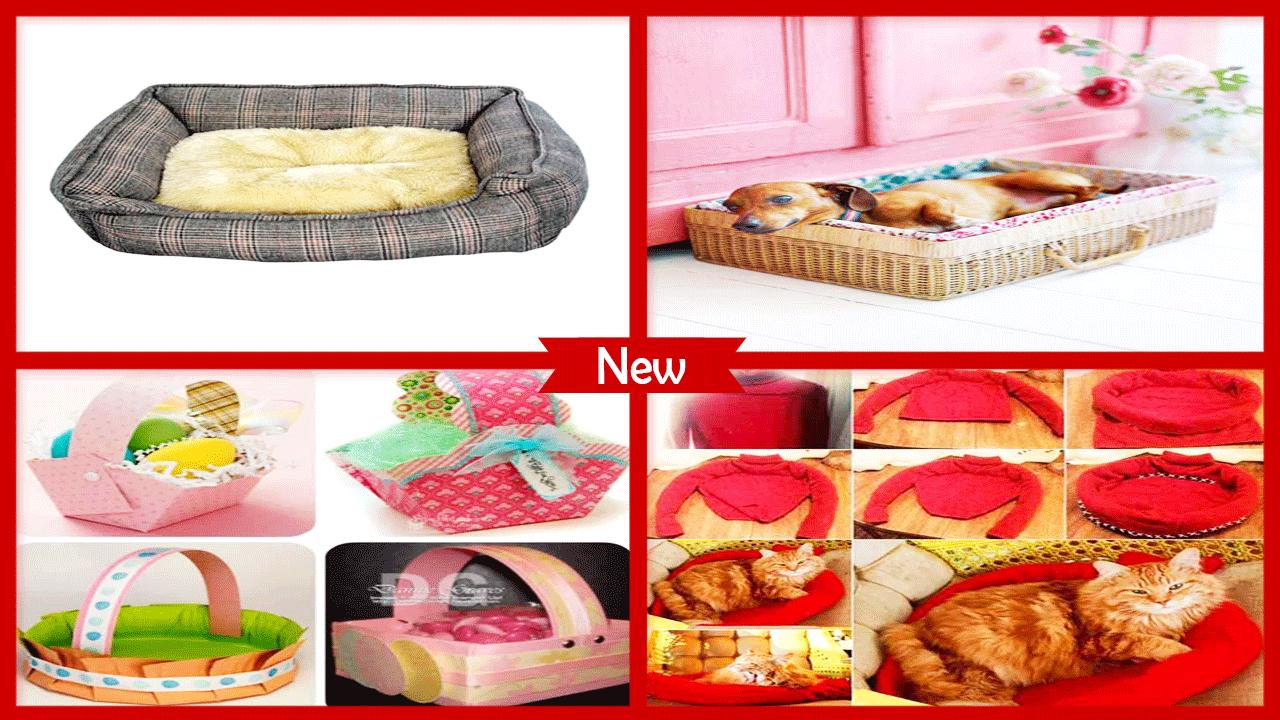
Best Application That Provide DIY Simple Travel Pet Basket With Detailed Image
DIY Simple Travel Pet Basket
This convenient pet bed is ideal for the auto, an office canine or an overnight trek.
Devices
scissors
heated glue firearm
sewing machine and dark string
MATERIALS
cookout bin with handles
(1) cushion case or pad spread
(1) plastic tablecloth
stuffing or scrap material for bedding
(1) yard of work material for the cover
wooden specialty letters (pooch's name)
(1) little security stick
1/2" versatile
Presentation
This compact pet bearer is anything but difficult to make and doesn't cost a great deal in materials. The work top is removable so the container can be utilized for an excursion or at home as a pet bed.
Stage 1
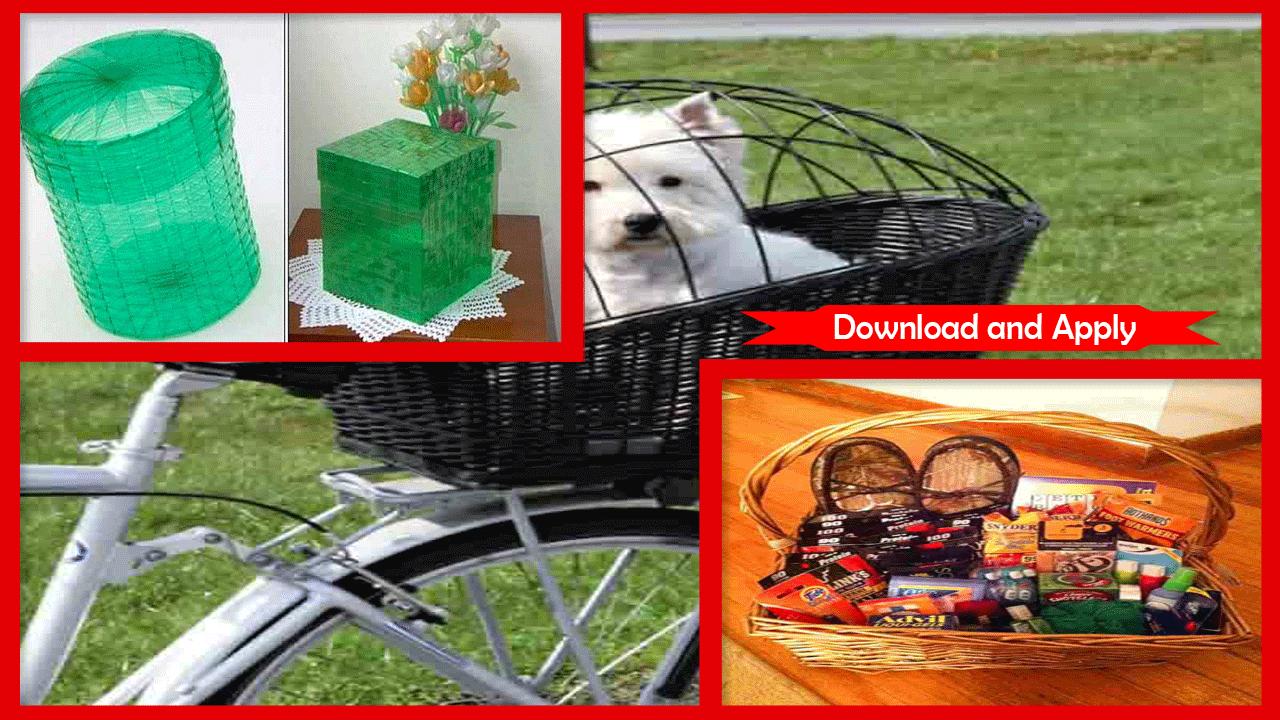
Make a Water-Resistant Basket Liner
Overlap a plastic tablecloth down the middle and lay it on your workspace. Place the bushel topsy turvy over the tablecloth and utilize a pen to stamp the span of the crate on the tablecloth. Cut the tablecloth (twofold sided) no less than 3 inches bigger than the stamping to take into account the crease and stuffing. Sew the two sorts out the distance; leave an opening to include the stuffing. At that point sew that last sort out.
Stage 2
Stuff Liner
Add stuffing or bedding scraps to water-verification liner. Sew shut. Add a pillowcase or blanket to make it more agreeable.
Stage 3
Finish the Basket
We decide to heated glue wood letters to the side of the bin to spell the puppy's name. You can paint the bushel or decorate with strip — or leave as-seems to be.
Stage 4
Influence Mesh To cover
Cut a bit of screen material sufficiently substantial to go over the container handles and mostly down the sides of the crate. Cut the corners the state of the container. Sew a crease the distance around the material sufficiently vast to enable the versatile to slide through. Leave a little segment open to straight pulling the flexible through with a security stick.
Stage 5
Fit the Mesh Cover
Ensure the cover fits snuggly finished the container, at that point sew the closures of the versatile together and sew up whatever is left of the crease.
Stage 6
Acquaint the Basket with its New Owner
At the point when not being used, the removable work cover can be tucked in the bin underneath the pad.
 Users also viewed
See all
Users also viewed
See all
updated
updated
updated
updated
updated
updated
updated
updated
updated
updated
updated
updated
Popular Games
See all
updated
updated
updated
updated
updated
updated
updated
updated
updated
updated
updated
updated